NO.1 When splicing quartz stone, the bevel must be polished until it is flat. It is more appropriate to polish the bevel to 45 degrees. The grinding technology requires more skills, so professional construction personnel are required to carry out the construction, so as to ensure the construction quality.
NO.2 After polishing the quartz stone, the glue should be pasted with the original glue of the same color. Before pasting, check whether the color is correct to avoid differences in colors.
After the color is determined, the joints of the quartz stone should be glued together with paper glue. During the gluing process, the glue should not get onto the quartz stone countertop, which will be very troublesome to clean up.
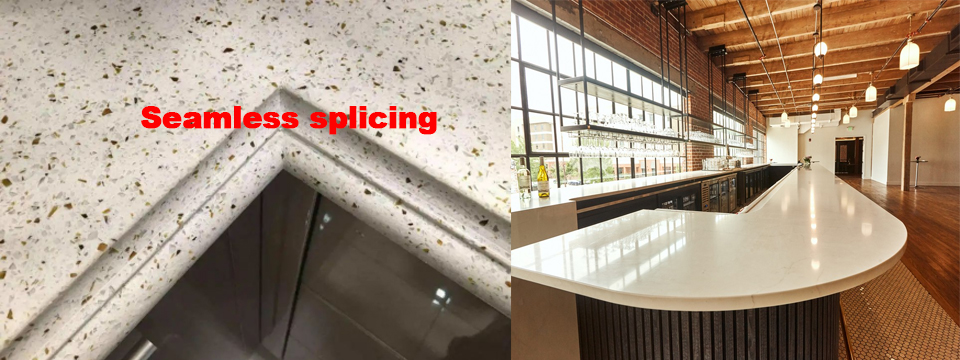
NO.3 When making seamless splicing, first use F clamps to fix it, and then apply glue. After applying for 15 minutes, grind and polish the connection parts with a water grinder.

02 Precautions for quartz stone splicing
1. Before splicing, check whether the splicing surfaces of the splicing panels are straight and consistent. If the splicing surfaces are not straight and consistent, obvious glue marks will appear on the splicing, which will affect the quality of the splicing and the seamlessness of the splicing. The simple way to ensure that the interface is consistent is to first place the two panels to be spliced on the same plane, so that the two sides to be spliced are as close as possible, fix them with F clamps, then use a positioning guide to fix them in the appropriate position, and use a gong machine to simultaneously Cut the two sides to be spliced to get a flat and even joint.

2. In order to make the front and upper end of the splicing interface tight and seamless, wipe the front surface of the splicing interface below 2mm-3mm with 120# sandpaper, then clean the splicing joint with alcohol or Tenna water, and finally check whether the splicing interface is smooth and even.
3. At the front splicing edge of the two spliced panels, use instant adhesive to fix the splicing with small pieces. The number of fixed small squares and the distance from the splicing edge should be determined according to the splicing area and the choice of fastening tools.
4. Place the two prepared boards on the same plane, and then stick a single-sided tape on the bottom of the splicing joint to prevent glue from dripping during splicing. Leave a 3mm gap between the two boards to ensure that there is a gap between them when splicing. Effectively control the glue to fully accommodate the glue at the splicing interface.
5. Pour the prepared glue evenly on the splicing interface. The amount of glue should account for more than 1/2 of the gap. Then use F clamps or A-shaped clamps to tighten the spliced panels as soon as possible. Check carefully when tightening. Check whether the splicing surface is flat. If not, use a rubber hammer to gently hammer it higher than the board surface until it is completely flat.
6. During the glue curing time, all clamps must not be loosened or the spliced plates may be moved at will. People must not stand on the table or place other heavy objects, otherwise the quality of the splicing will be seriously affected.
7. After the glue solidifies, remove the excess glue with a gong machine or angle grinder, and then smooth it with a grinder. Never use a chisel.